Screens are defined for each stream type, e.g. station, meter run or prover etc. Profile will automatically use them for multiple instances of the same stream types.
For example, if you create a screen for a meter run stream in the configuration and then use that configuration for an RTU with 4 meter runs, Profile will automatically extrapolate the screen for all 4 meter runs in the RTU.
1. Open the configuration
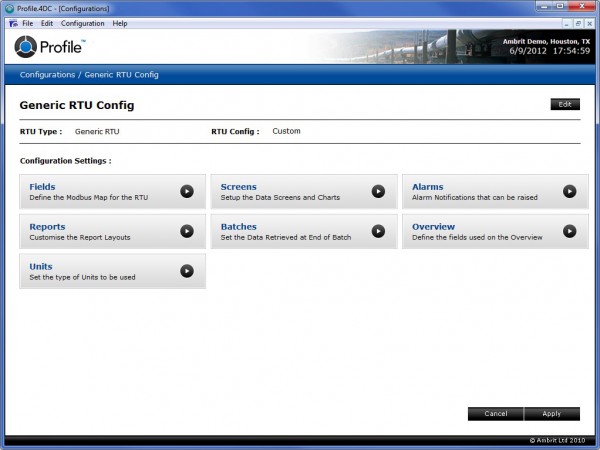
2. Click the ‘Screens’ configuration settings panel

3. Select the location from the ‘Location’ popup menu
4. Click the ‘Add Screen’ button
The first screen that is created is the default screen. It appears as the topmost item in the Process Data Menu on the Process Data screen (see the ‘Viewing Real Time Data‘ section for more details). Subsequent screens are created as sub-screens.
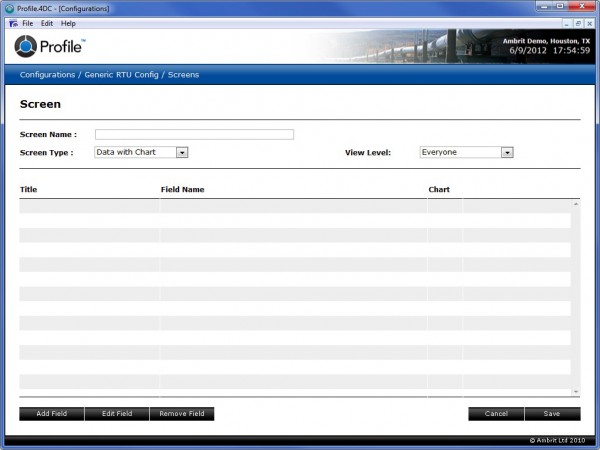
5. Enter the details as follows:
| Screen Name | This is the name used to identify the Screen. |
| Screen Type | This selects the type of template to be used. |
| View Level | Select the default security level needed to view the the screen.If the user has corresponding access in their access privileges, (see the ‘Adding a User‘ section) then they will be able to see the screen in the Process Data section (see the ‘Viewing Real Time Data‘ section). |
6. Click the ‘Add Field’ button to add a field to the screen
This screen will show all the fields in the RTU.
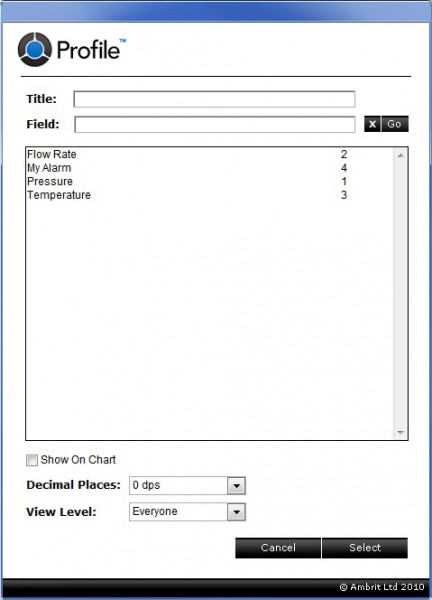
7. Enter the details as follows:
| Title | This is the name for the field that will be displayed on the screen. If a title is not entered it will default to the RTU field name. |
| Field | This field contains the name of the RTU field whose value will be displayed on the screen.Tip: Entering a portion of the field name and then clicking the ‘Go’ button will search the RTU fields for matches. Entering the Modbus address will also go straight to that field. |
| Show on Chart | This checkbox adds the field to the historical data collection. Once selected, choose the color that it should be drawn on the chart with. |
| Decimal Places | This popup menu defines the number of decimal places that will be displayed for the value. |
| View Level | Select the default security level needed to view the the field. The default view level is “Everyone”, which will always display the field to anyone who has access to the screen.This field will only be displayed on the screen if the user has corresponding access in their access privileges (see the ‘Adding a User‘ section). |
8. Highlight a field in the list
9. Click the ‘Select’ button
Alternatively you can double click on the field.
10. Repeat steps 5 to 9 to add more fields to the screen
11.Click the ‘Save’ button to save the screen
12. Click the ‘OK’ button
This will return you to the main configuration page.
13. Click the ‘Apply’ button
The configuration changes will now be active.