You can edit users from any screen in Metrology.
Note: Although accessible through the web browser, you must have server management access to be able to edit users.
1. Click the  icon in the Location Bar

2. Select “Users” from the menu
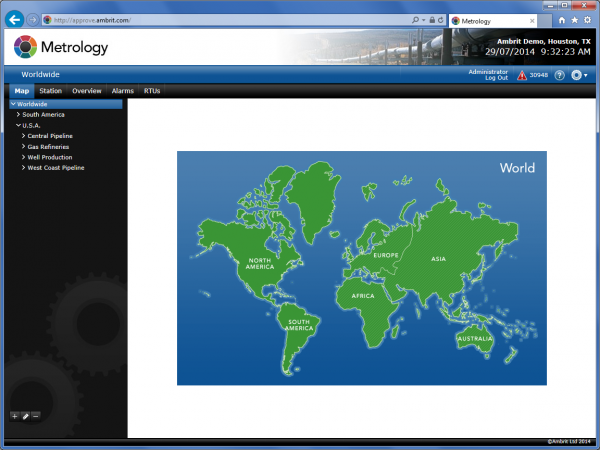
This Users screen will be displayed:

Note: If the item “Users” does not appear in the menu then you do not have access to this feature.
3. Click the ‘Add User’ button
The User Entry screen will be displayed:
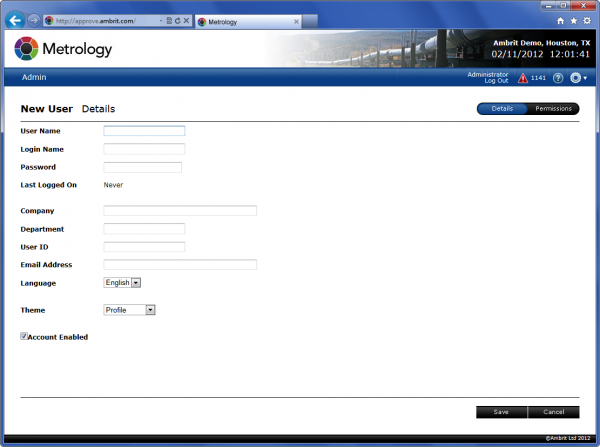
4. Enter the user details as follows:
| User Name | This is the name that identifies the user on the system. It should be entered as it would be written naturally, e.g. “Daniel Ross”. |
| Login Name | This is the name entered by the user when they are logging in to the web site. It will default to the user name. |
| Password | The password is required when the user logs in to the web site. The password will be concealed whilst being typed .It is not possible to retrieve a user’s password if they forget it. If the user does forget their password, simply enter a new one. |
| Last Logged On | This is the date that the user last accessed the system. |
| Company | This is the user’s company. This is an optional field. |
| Email Address | This is the email address that the system will use to send email to the user. |
| Language | This is the native language of the user. The entire Profile interface will be translated to the user’s local interface. |
| Account Enabled | This checkbox provides an easy way to turn off access to the user without deleting the user’s account. If the checkbox is ticked then the user has access to Metrology. |
5. Click the ‘Permissions’ button
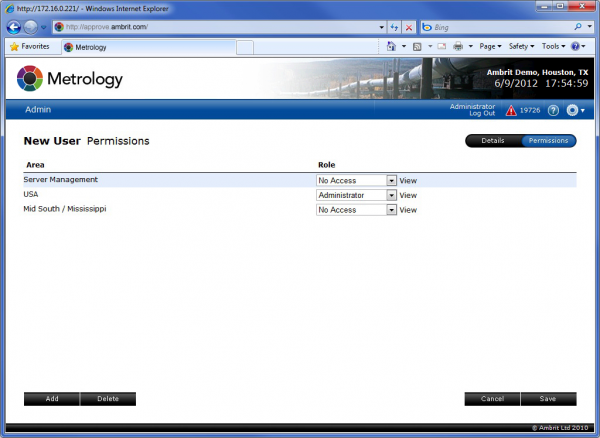
The Permissions screen, which defines what the user can and cannot do, will be displayed:

6. Click the ‘Add’ button at the bottom of the screen to add a new area permission
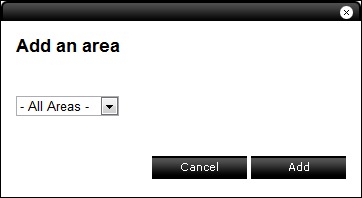
7. Click the ‘Add’ button to add a worldwide area
The top level area is added to the Permissions screen:

8. Select ‘Administrator’ from the ‘Role’ popup menu for the newly added area
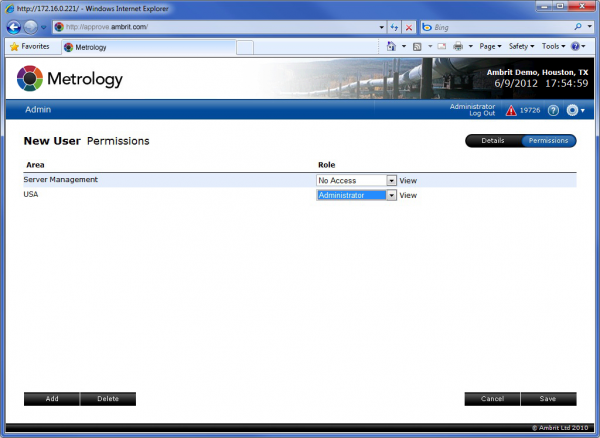
This grants the user full access to every area and station.
9. Click the ‘Add’ button at the bottom of the screen to add another new area permission
10. Select an Area
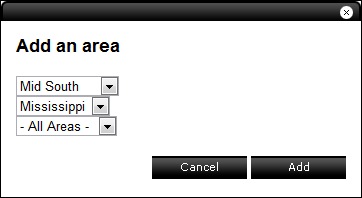
This will show all sub areas for the selected area, all the way down to the station level.
11. Click the ‘Add’ button
12. Select “Create New Role” from the ‘Role’ popup menu for the newly added area
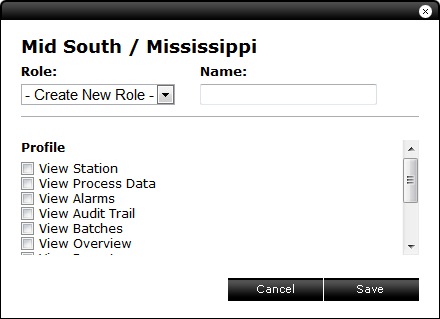
A role defines what each user can do at any area. Once a new role has been defined it can be used for other users and on other areas.
13. Enter a name for the role
14. Select the access levels that are associated with the role
15. Click the ‘Save’ button

In this example, the user has administrator access at all sites on the system except for Mid South / Mississippi where they only have technician level access.
As many areas / roles as required can be defined for each user.
16. Click the ‘Save’ button
This will save the user and allow the user to log in to Metrology.