1. Navigate to the Station
See the ‘Viewing a Station’ section for more details.
2. Click the ‘Logbook’ button in the Navigation Bar
This will display the logbook list screen.
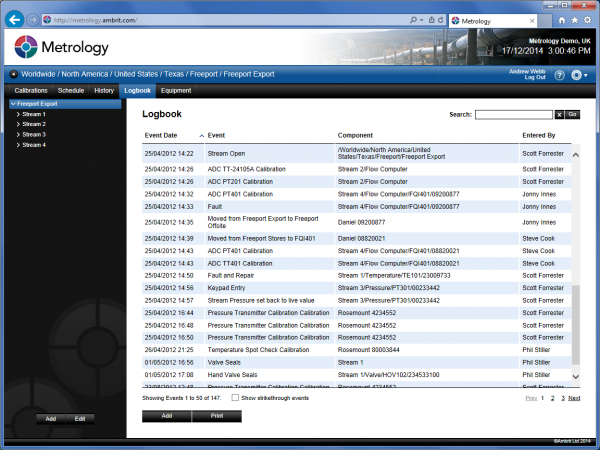
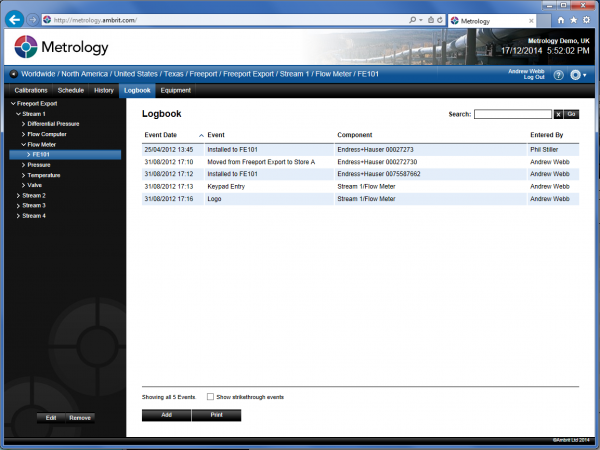
3. Select the item in the Inventory Menu
This will filter the logbook to show all logbook entries for against that item.
New logbook entries are recorded against the currently selected item in the Inventory menu. Entries can be made against the station, location, process element or tag.
4. Click the ‘Add’ button
A new logbook entry will be created for the selected Inventory menu item with the ‘General’ logbook template preselected:
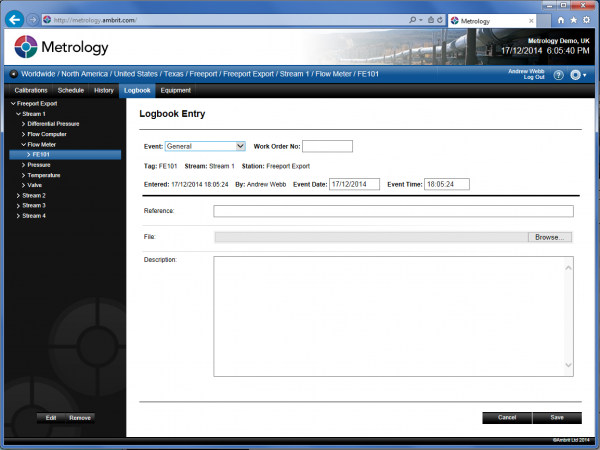
5. Select template from the ‘Event’ menu
The list of templates available will depend on the configuration of the server and the type of element selected in the Inventory menu. For instance a stream may have events such as ‘Stream Open’ and ‘Stream Close’ but a piece of equipment may have events like ‘Calibrate’ and ‘Configuration’ etc.

6. Enter the details as follows:
| Work Order No | This is the work order number associated with the entry. This is a mandatory field. |
| Entered | This is the date and time that the logbook entry was made. This field cannot be changed. |
| By | This is the name of the user that has made the entry. This field cannot be changed. |
| Event Date | This is the date that the event occurred. |
| Event Time | This is the time that the event occurred. |
The fields in the bottom half of the form will vary based on the template selected.
7. Click the ‘Save’ button
Warning: Once the logbook entry has been made it can no longer be changed. Updates can be made by adding a comment against the logbook entry.